Pixel Art & Adobe Illustrator
Adobe Illustrator is a program used to create vector graphics, and was first developed for the Apple Macintosh in 1986. The first Windows version was released in 1997.
You won't find any pixel inside vector graphics, since vector graphics
are built on mathematical descriptions of lines and curves.
The great benefit of describing an image with geometric shapes is
scaling without loss of quality.
The numbers, which describe the curves, can be multiplied or divided,
the characteristics of the curve don't change, only the scale changes.
In computer graphics, several different types of curves are used, each
type having it's own specific benefits. Adobe Illustrator is based on
so-called Bézier curves.
The French engineer Pierre Bézier invented the curves and used them to
design automobiles.
Within Adobe Illustrator, there are three possible types of Bézier
curves. The first type is not a real Bézier curve but a straight line.
The second is a so-called quadratic Bézier curve, and the third type is
a cubic Bézier curve.
More details about lines, quadratic Bézier curves, and cubic Bézier
curves are to be found in the 'Postscript' chapter.
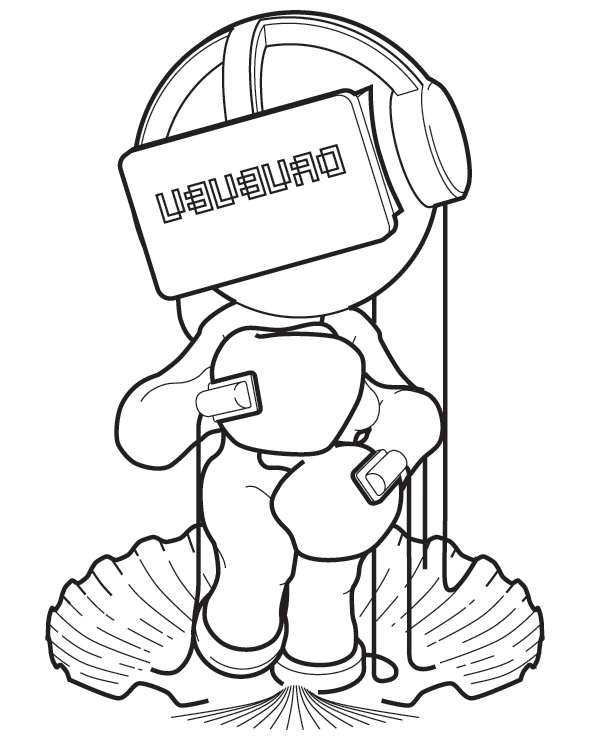
Previous versions of Adobe Illustrator showed a part of Sandro
Botticelli's renaissance painting, 'The Birth of Venus', as splash
screen.
The renaissance painting was chosen as a metaphor for postscript, which
would be the new Renaissance in publishing. The illustration of Venus
was stylized over the years, but discarded in version 11.
Now a stylized flower and a colored block with the two-letter
abbreviation 'Ai' is currently used as splash screen.
I personally liked the painting of Venus, so I made my own version of her.
Adobe Illustrator files - extension .ai - are exported as true postscript files, which means you can read the cryptic lines of postscript if you open an Illustrator file in a text editor.
With some effort, you can generate your own Illustrator file with code.
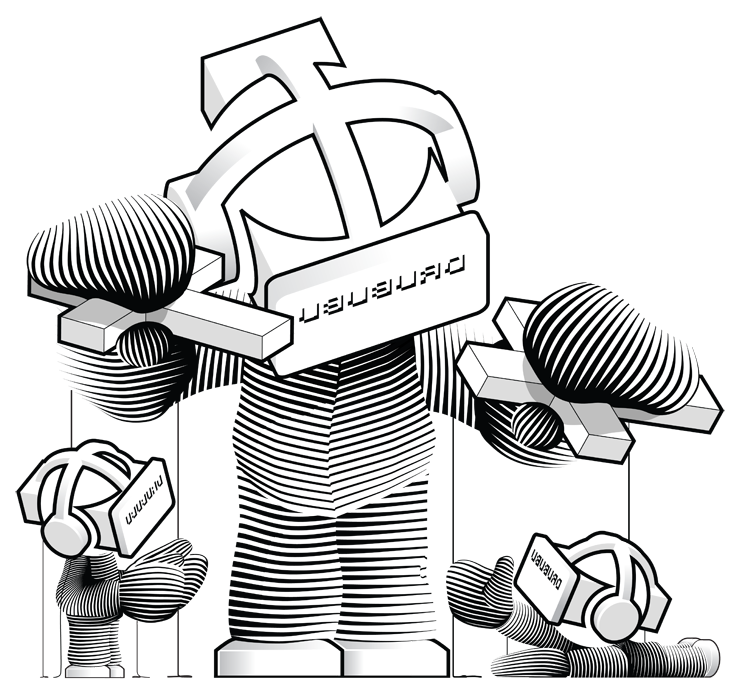
This technique is also used to generate the shape and pattern of the lighthouse.
Lighthouse General
The initial lighthouse was drawn by hand and used as a reference to
recreate the lighthouse in Adobe Illustrator.
The pattern on the lighthouse and the lighthouse construction itself
have a highly mathematical shape. By using a program to generate the
shapes, the end result will be perfect.
Drawing by hand is an option, but it would never be as perfect as
generating the shapes.
The lighthouse could be made in a 3D program as well, but only the
outline is needed; the shading is done on the fly by hand in MS Paint.
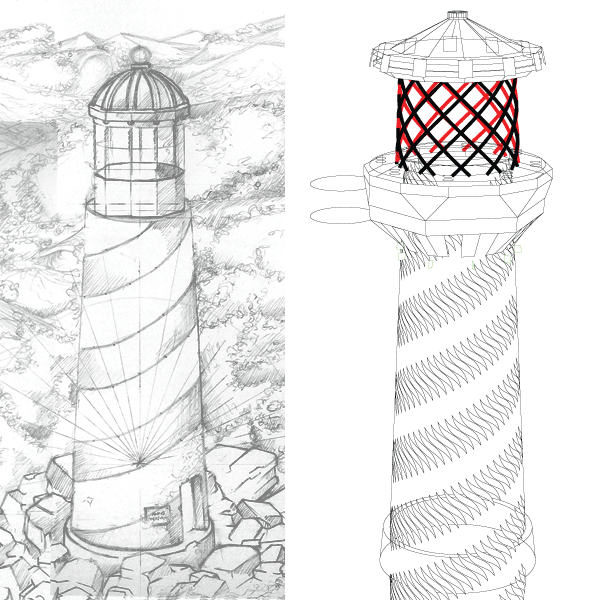
The top of the lighthouse in the sketch was to small, so it's changed
into a larger, more robust version. The common lighthouse pattern is
changed as well, to make it more visually interesting with respect to
the original styling.
The next image shows the initial sketch on the left and the final
vectorized lighthouse on the right.
Lighthouse Cabin
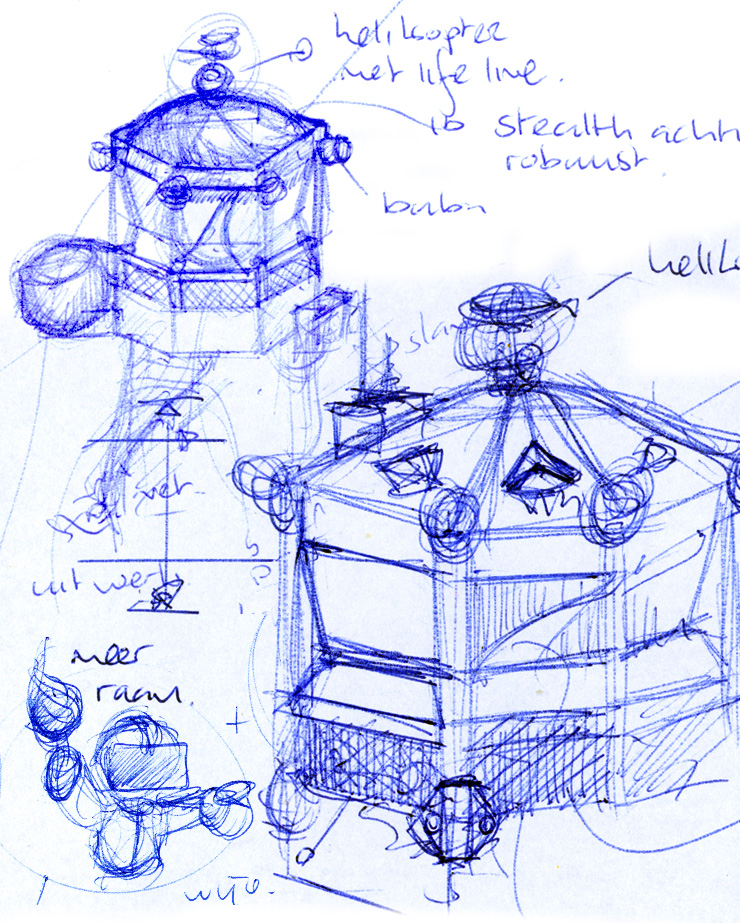
For quite some time, it was not clear how the top of the lighthouse would look.
Several sketches were made.
The idea of a miniature rescue chopper as a wind vane on top of the
lighthouse came quiet early.
On the corners of the sides of the roof, small nameless puppets
are used as ornaments. The puppets are drawn in MS Paint; they carry a
torch in one hand and extend the other hand into the darkness.
After evaluating the sketches, I came up with the idea of using a
six-sided platform that transforms into a twelve-sided lighthouse cabin.
The top is positioned slightly asymmetrically; this results in a more
vivid illustration.
The rotating pattern on the lighthouse is repeated in the construction around the glass. The construction has an open character, so the inside - and partly the surrounding on the background behind the lighthouse - remains visible.
On the left side of the lighthouse cabin, a smaller platform is used for the radar installation. The radar has the faceted shape of a wooden shoe, the logo of the Internet Creatieven.
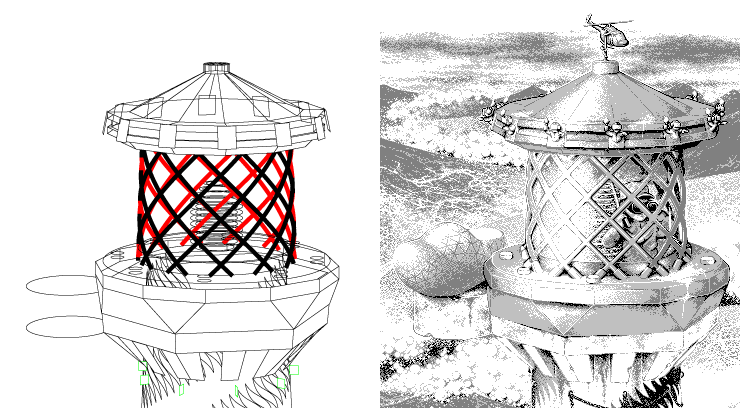
The vectorized illustration is generated as a postscript file, which can
be imported into Adobe Illustrator.
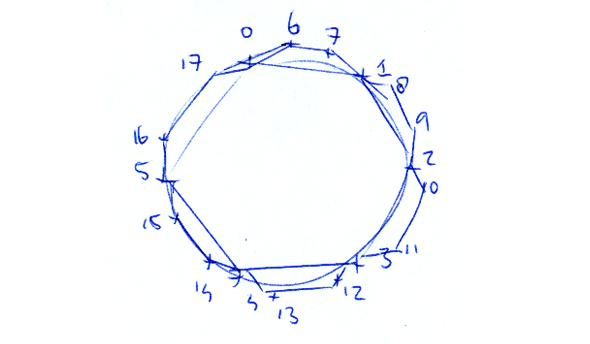
The curves have to be described with mathematical formulas, so the
process requires precision.
Since the formulas themselves are not very easily readable, a rough
sketch is made to visualize the structure of the cabin (image below).
The bottom has six sides, the top twelve sides.
An extra border is added to the top. This border casts a sharp shadow in
the final pixel art illustration, and increases contrast and depth in
this part of the illustration.
The construction around the glass has two colors. The front has a black
color, the back a red color.
The front and back have had to be separated, so that the interior can be
drawn behind the front and in front of the back.
You can find more detailed information about the combining of the
lighthouse cabin with the interior in the 'Outline/Shading' chapter.
Pixelation
The vectorized illustration is converted into a bitmap image in
Adobe Photoshop and copied to MS Paint. In MS Paint, the outline is used as a
reference, just like examples one and two in the chapter
'Outline/Shading'.
Once the outline is OK, the shading starts; this is done by hand on the
fly in MS Paint.
